 Dr. Seuss’ Thing 1 and Thing 2 (don’t forget about Thing 3
;D)
Dr. Seuss’ Thing 1 and Thing 2 (don’t forget about Thing 3
;D)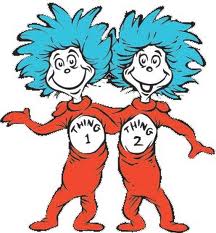
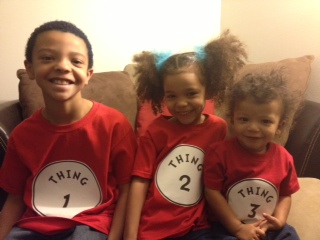
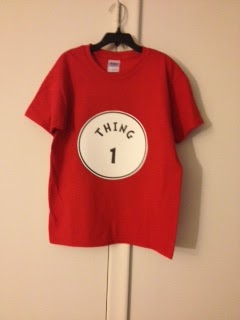
So it was the time of year again. Spirit week. Oh how I dread
spirit week. Of course my son reminded me day after day that he needed to dress
up for Dr. Seuss Birthday. He wanted to be the Lorax. With five days to go I said
absolutely not. It would take me a week to even get a chance to think about how
I would begin that. So I pondered on what he could do instead. I first said Cat
in The Hat, but everyone does that. We went with Things 1 & 2. I have three
kids not two and I can’t do for one that I won't do for the all. I realized it
would be so darn cute for the three of them to dress up together. After all,
they are only this small once. Here is a picture of the completed look.
For the tutorial on creating the decal
itself, check out my post in DIY Fabric Transfer (Things).
First here is a list of what you need:
Red T-Shirt (100% cotton)
Fabric Transfer Paper
Printer
Plain Printing Paper
Computer with MS Word (or any word document software)
Iron
Scissors
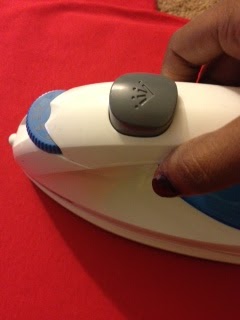
BEFORE WE BEGIN TURN ON YOUR IRON NOW…Highest NO STEAM
setting
DECAL
On word create decal of Thing 1 and Thing 2 (and don’t
forget 3 ;D ) Or you can download and print my template HERE. (The link will take you to my DROPBOX account to download. DONT WORRY about how the template looks in Drop Box...It will look normal in MS Word after download). If you are
creating your own, print a few practice sheets on plain printing paper. That
way you won’t waste any of your transfer paper. You can download the font I used thanks to Font Space HERE. Once you have edited the sizing and wording to your liking you can print
it on your transfer paper. I bought my transfer paper from Wal-Mart for $7 for
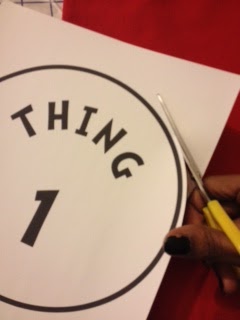
three sheets. Hobby Lobby had them for $14 for 3 sheets. Cut out your circles
leaving a tad bit of white around the edge. (Please note that whatever you cut
out will be on the shirt. So cut exactly as you want it to appear on your
shirt.) Set aside.
T-SHIRT
Before you can transfer the decal, you need to iron your
shirt where you will be placing the decal. This is to ensure there are no
wrinkles under your transfer. Let shirt
cool.
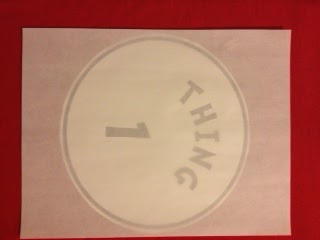
Now you need to peel the backing off the decal SLOWLY. Pulling to fast
can tear, wrinkle, or somehow damage the transfer decal. Position decal. Place
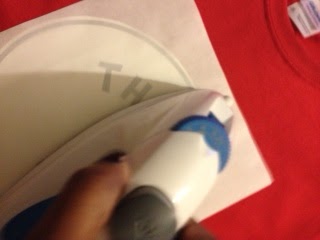
the parchment paper from your fabric transfer pack on top of the decal.
(Please
note you need to apply a good amount of pressure, also ironing on flat surface
can help to ensure there are no wrinkles. I used my pattern cutting board.
Ironing boards usually have holes that may leave imprint on shirt. Ironing mats
are also good to use.) Iron for 25-35 sec depending on the size of the decal.
Leave parchment paper on top of decal while it cools.
After cool down you can
remove parchment paper. (If you notice wrinkles or lifted edges, iron again
with more force). Hang on a hanger until you are ready to wear. To wash, turn inside out and air dry or tumble dry cool. Always iron decal with parchment paper.
Thanks for the support! Feedback and comments always welcome
:D
If you would like to see how I created my own decals on MS
Word 7, you can go to the DIY section
for Fabric Transfers (Things) .

No comments:
Post a Comment
Leave a comment