
Lil' Pillow Instructions using Sewing Machine
Here's what you need:
1 jersey knit fabric (solid color)
1 cotton print fabric
Poly-Fil
Tailor's Chalk
Straight Pins
Scissors
Sewing Machine
I bought my fabric from Hancock Fabrics President's Day weekend. They were having a pretty good sale. So of course I took advantage.  |
| Pink jersey knit remnant fabric was $0.67 The print fabric was a fat quarter for $1.49 |
I got my Poly-Fil for only $3.49. Not bad but I wish I would have bought more regular price was like $5.
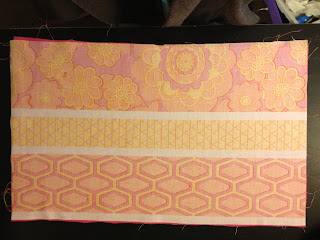
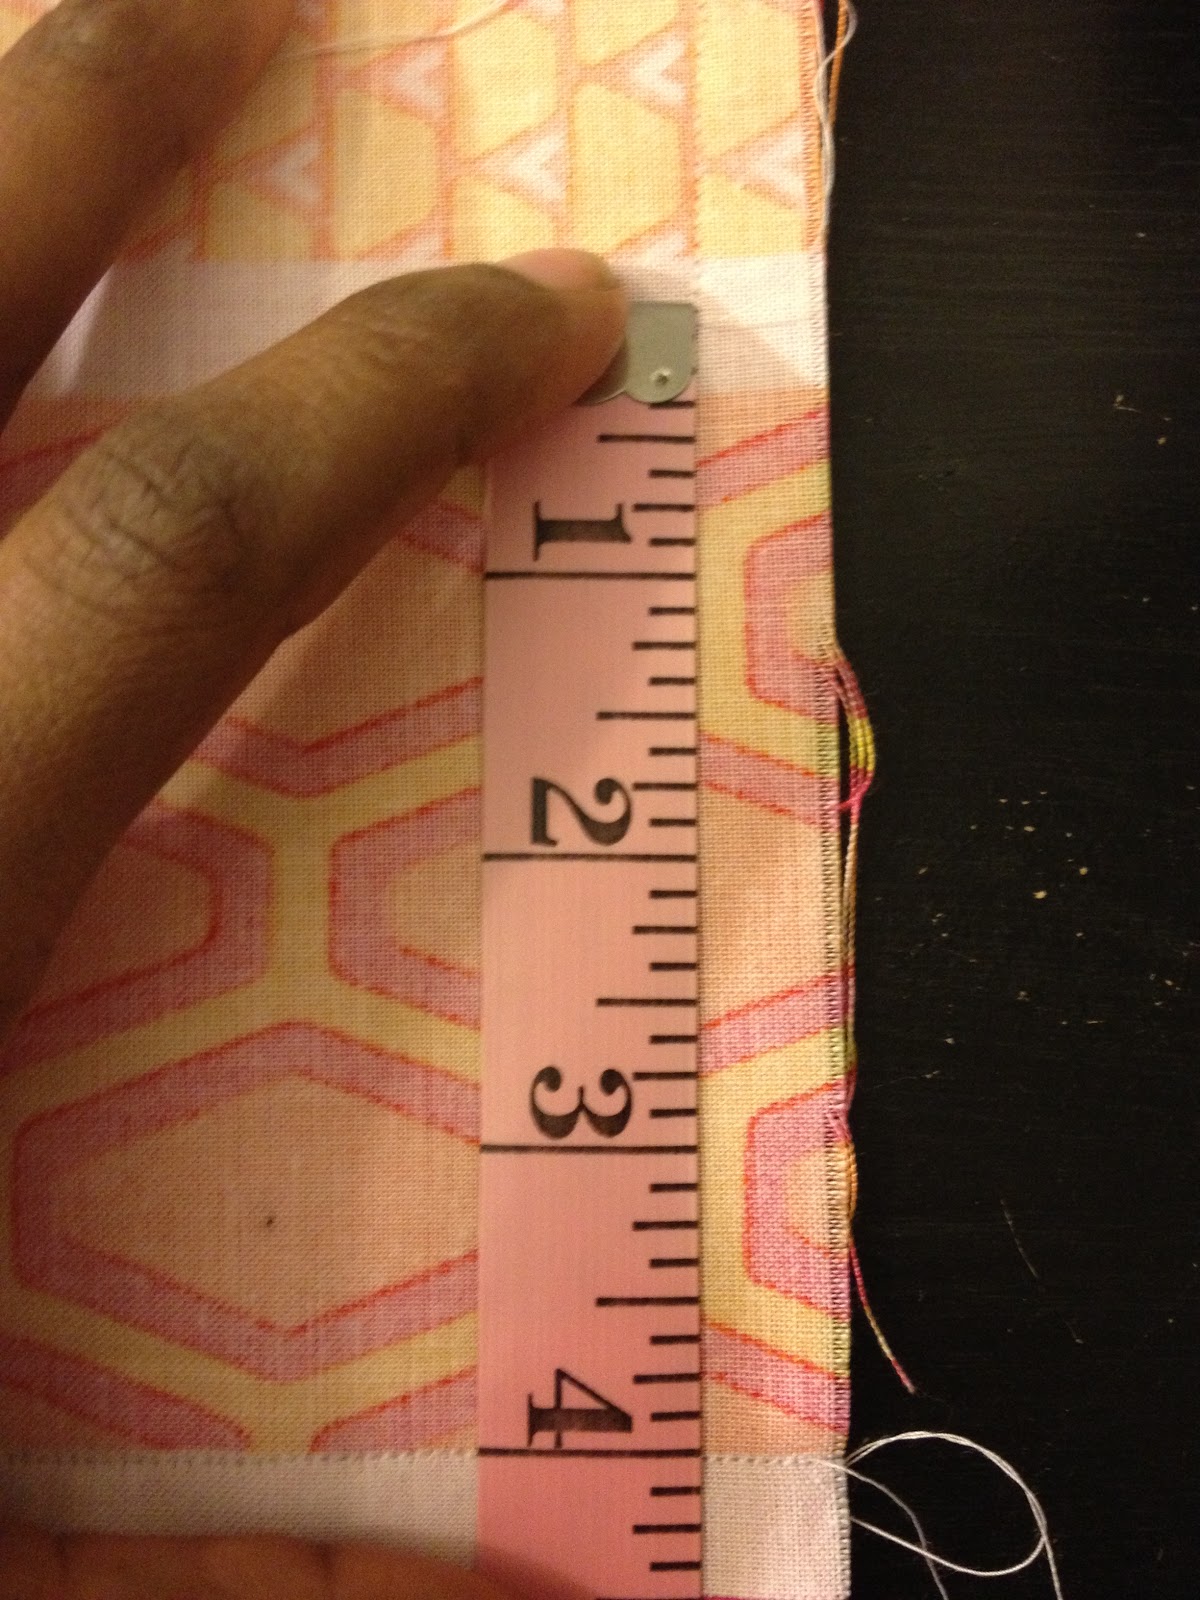
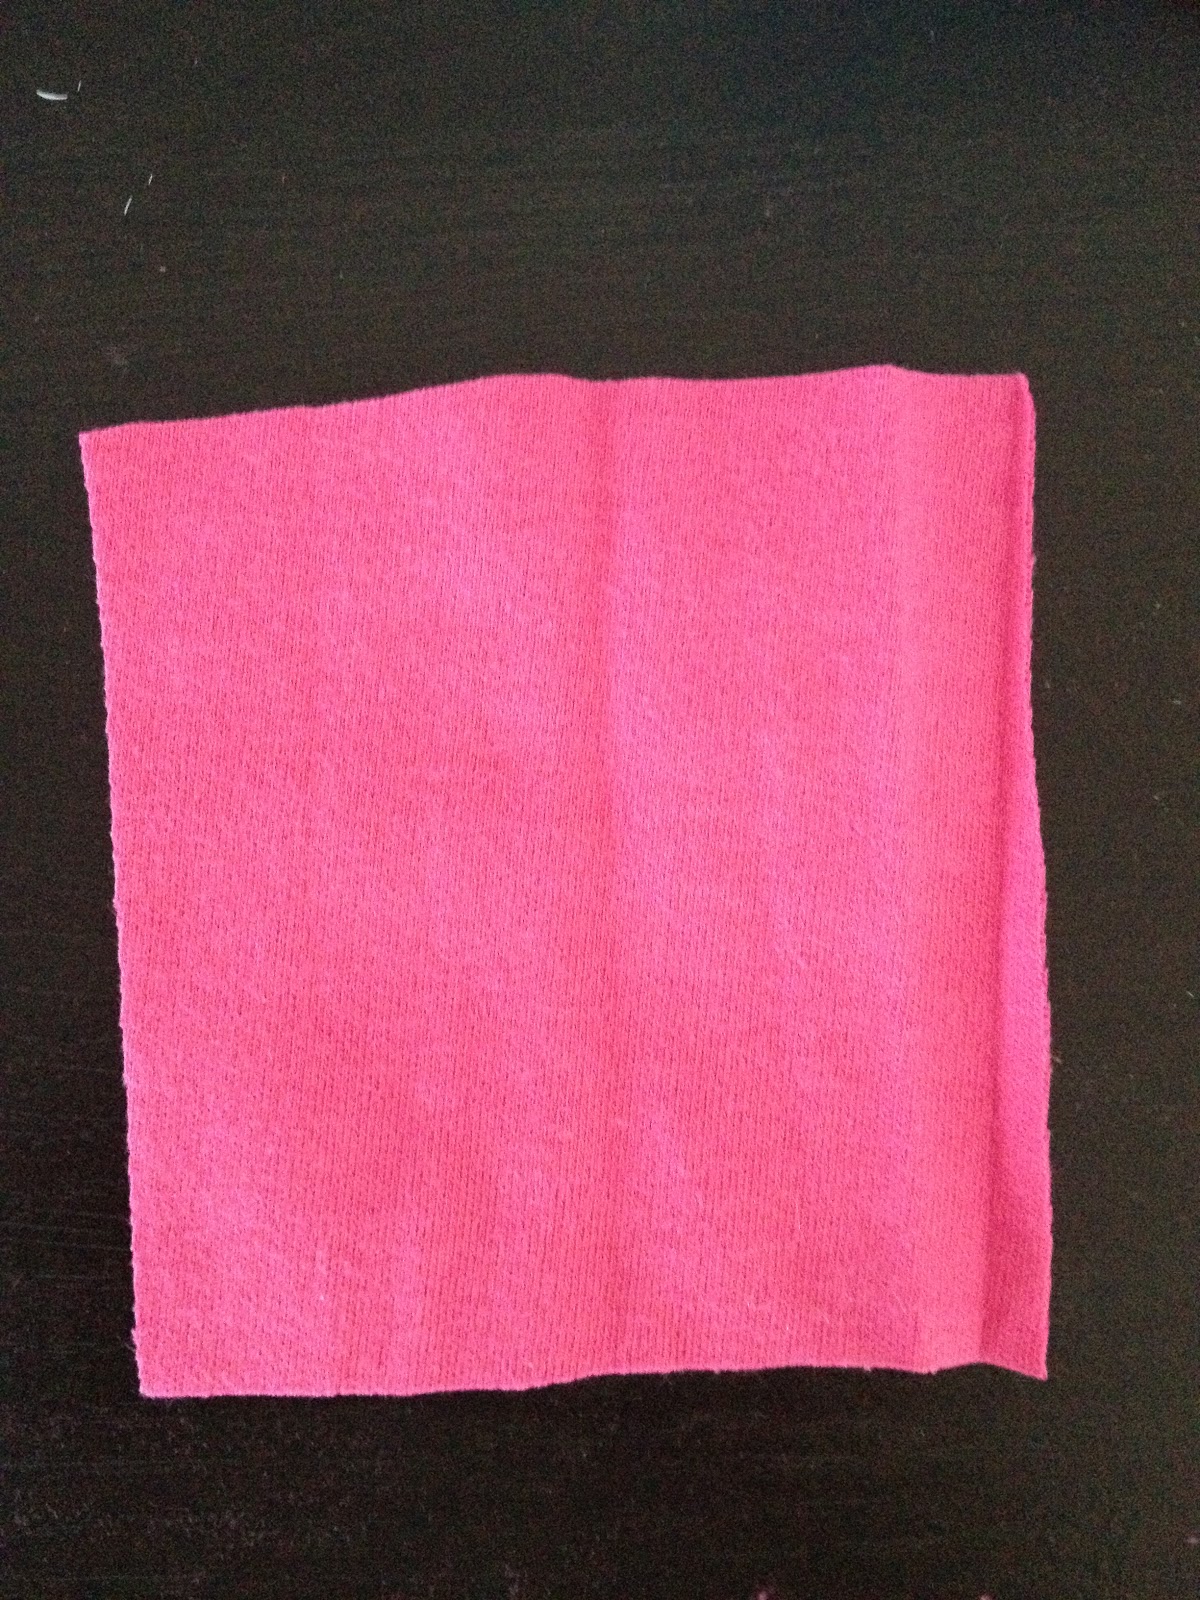
First thing you need to do is to measure and cut your fabric 8 1/2in X 11 1/2in. I suggest using tailors chalk before you cut to insure you cut in a straight line.
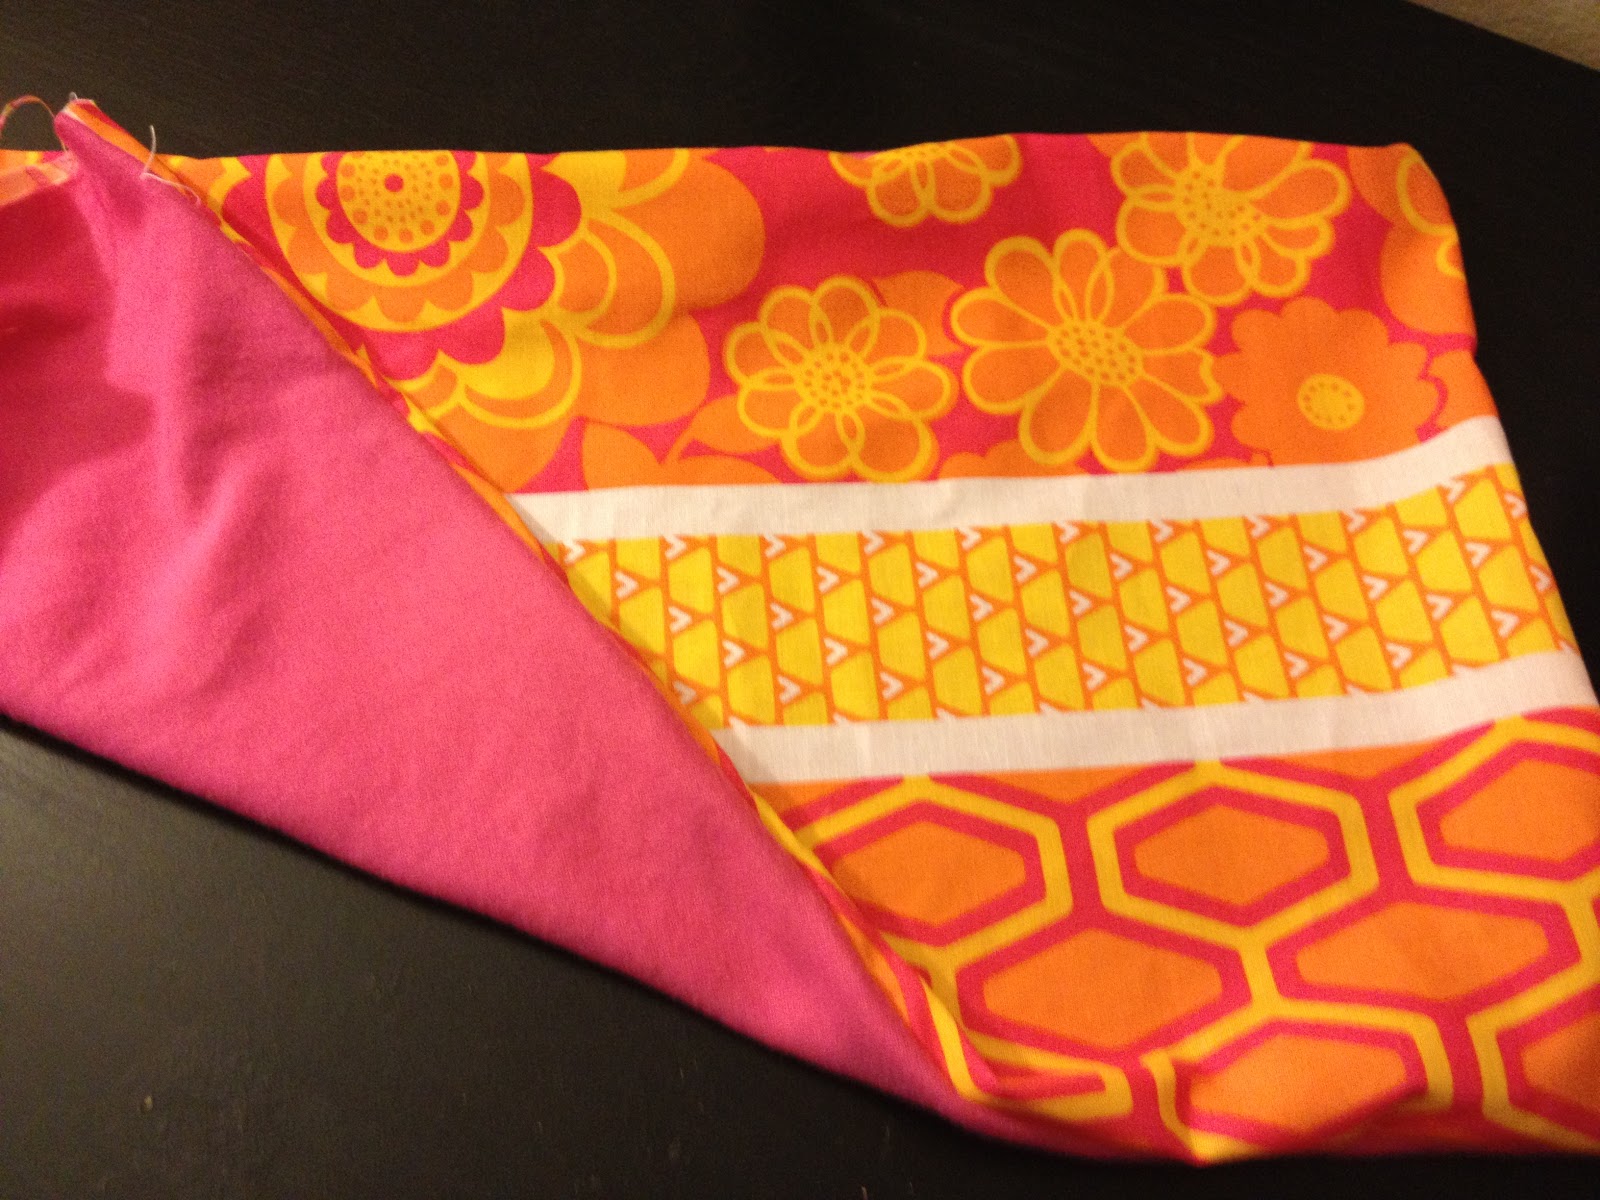
Now you need to turn fabric right side facing each other. If you use straight pins to hold the fabric together, it will make it easier when sewing.
 |
| Don't worry about the frayed ends...we will be turning this right side out |
You will need to raise your needle and presser foot before you can begin.
Let's begin:
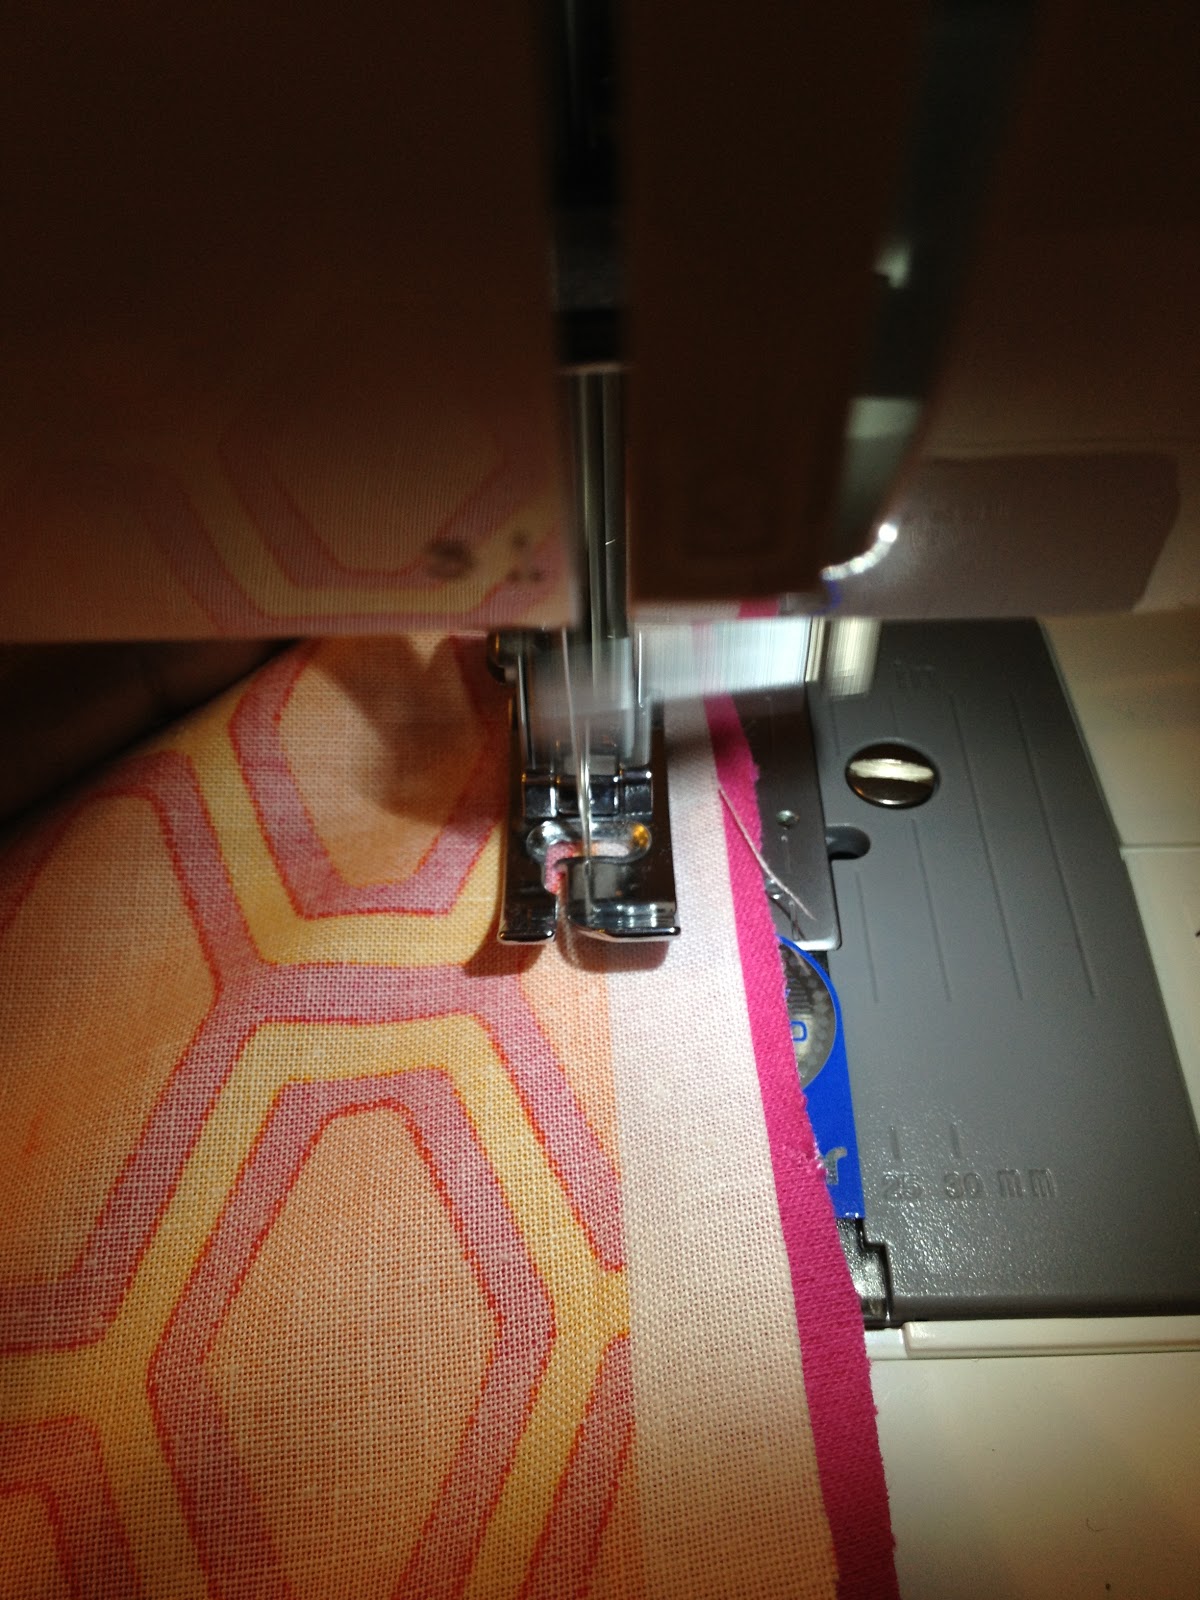
Slowly press down on foot controller and sew 3 sides leaving about a 1/2 for the seam allowance.
Once you get to the last side, continue to sew but you need to leave enough space for you to turn fabric right side out and to stuff with Poly-Fil.
Raise your needle and presser foot to remove fabric. Now turn the fabric right side out.
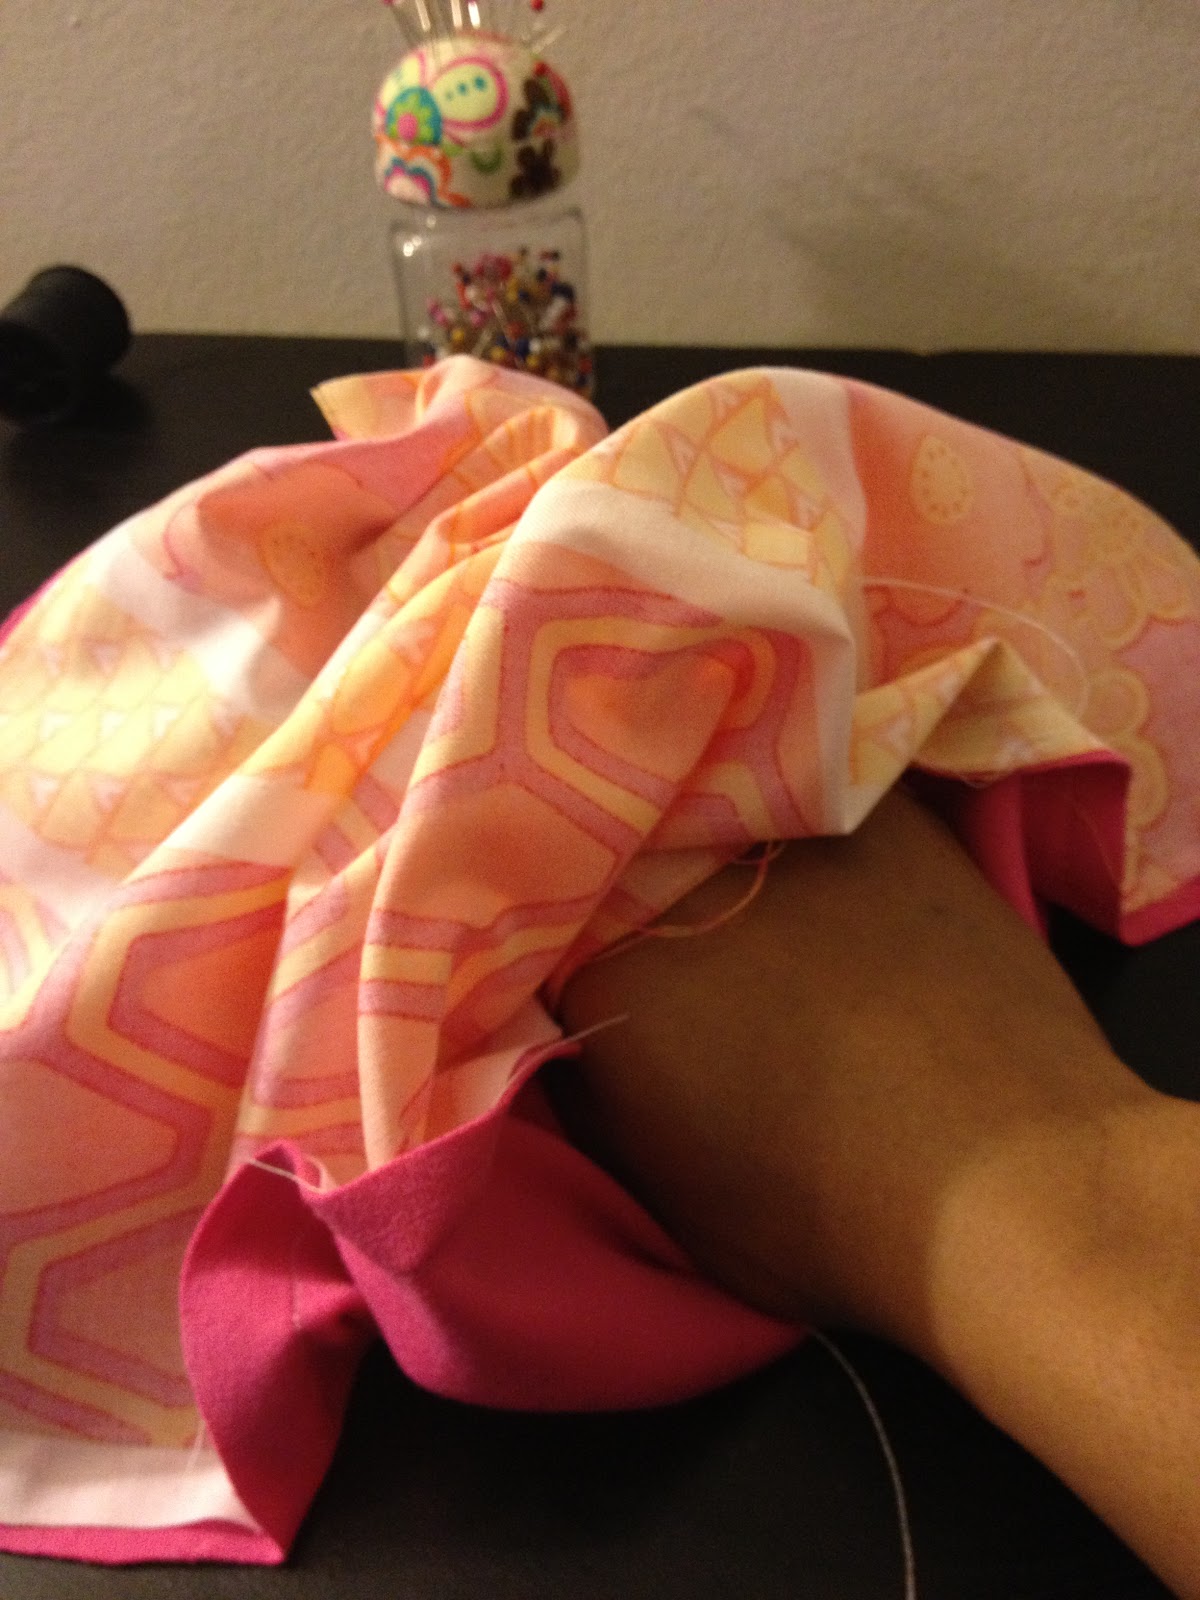
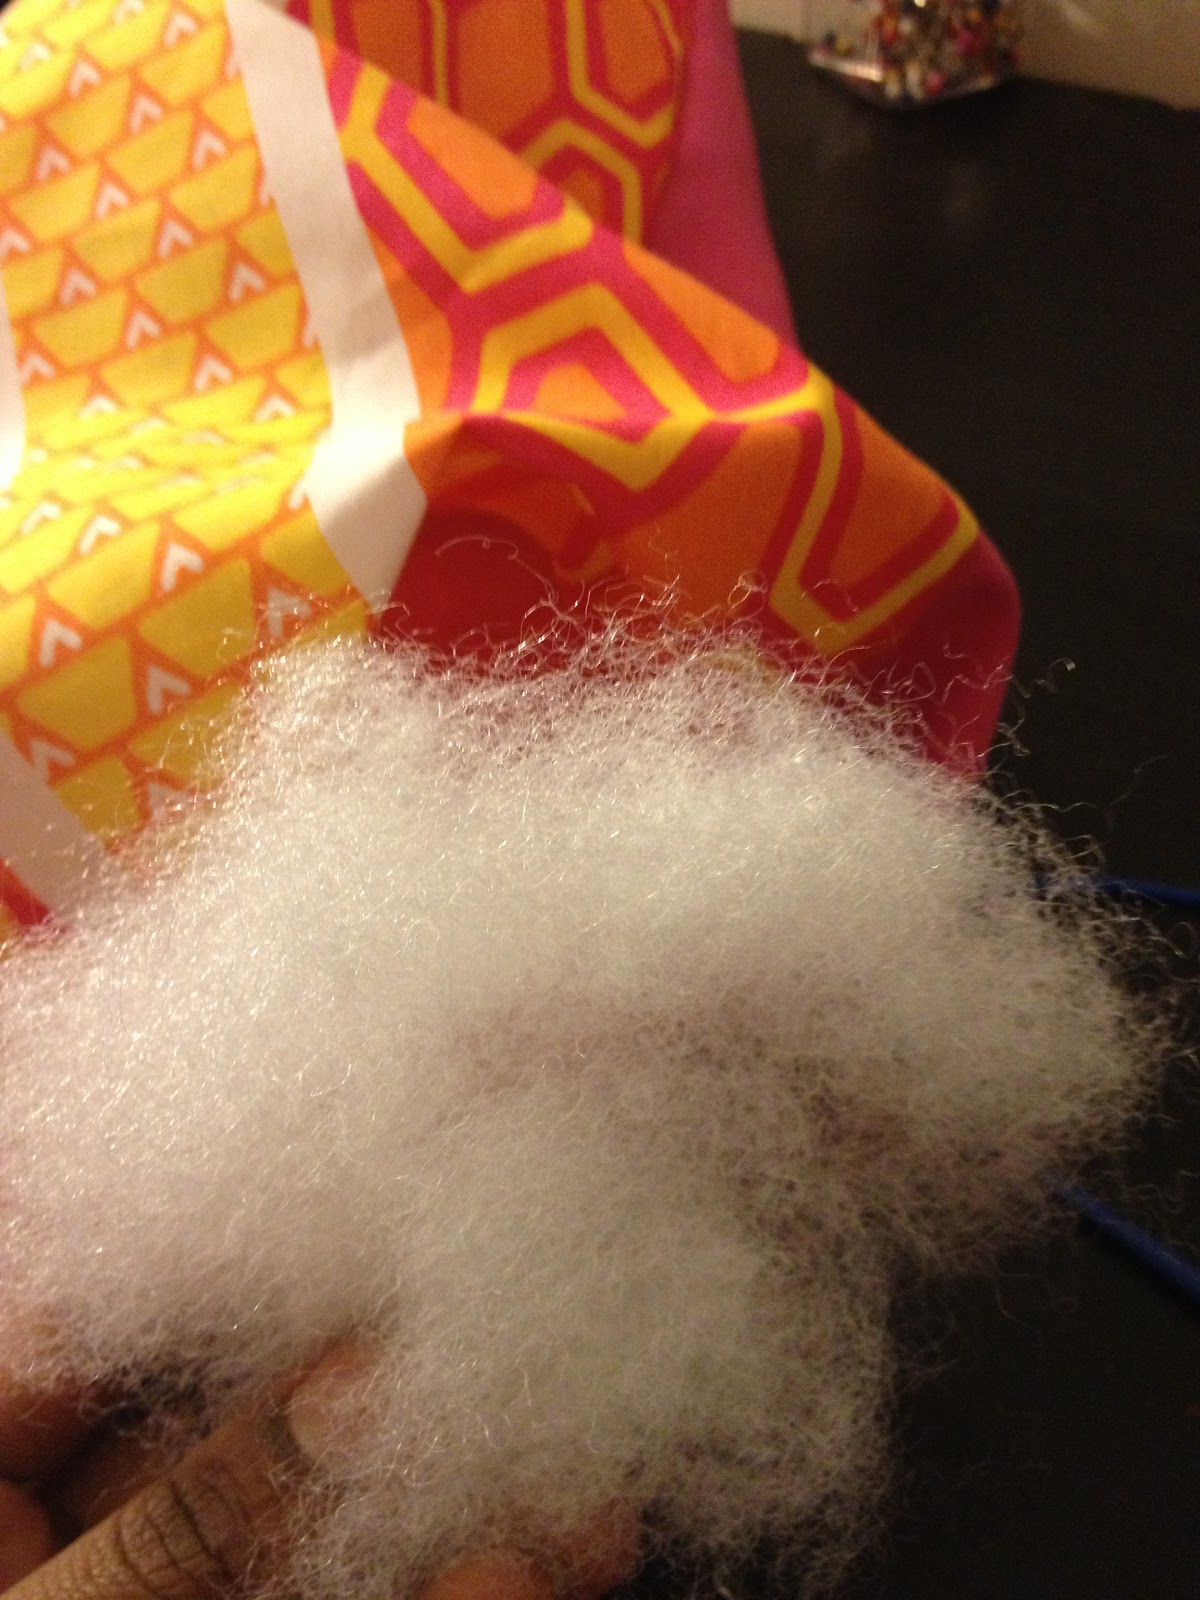
Now you can fill the pillow with the Poly-Fil. Be sure to tease the fiber so that there won't be any hard clumps in the pillow.
After you fill the pillow to your soft/firm likeness...you need to sew the remaining opening for closure.
If you dont want tassles, then your all finished. Continue reading for tassle instructions.
Cut four 4in X 4in squares from your remaining jersey knit fabric.
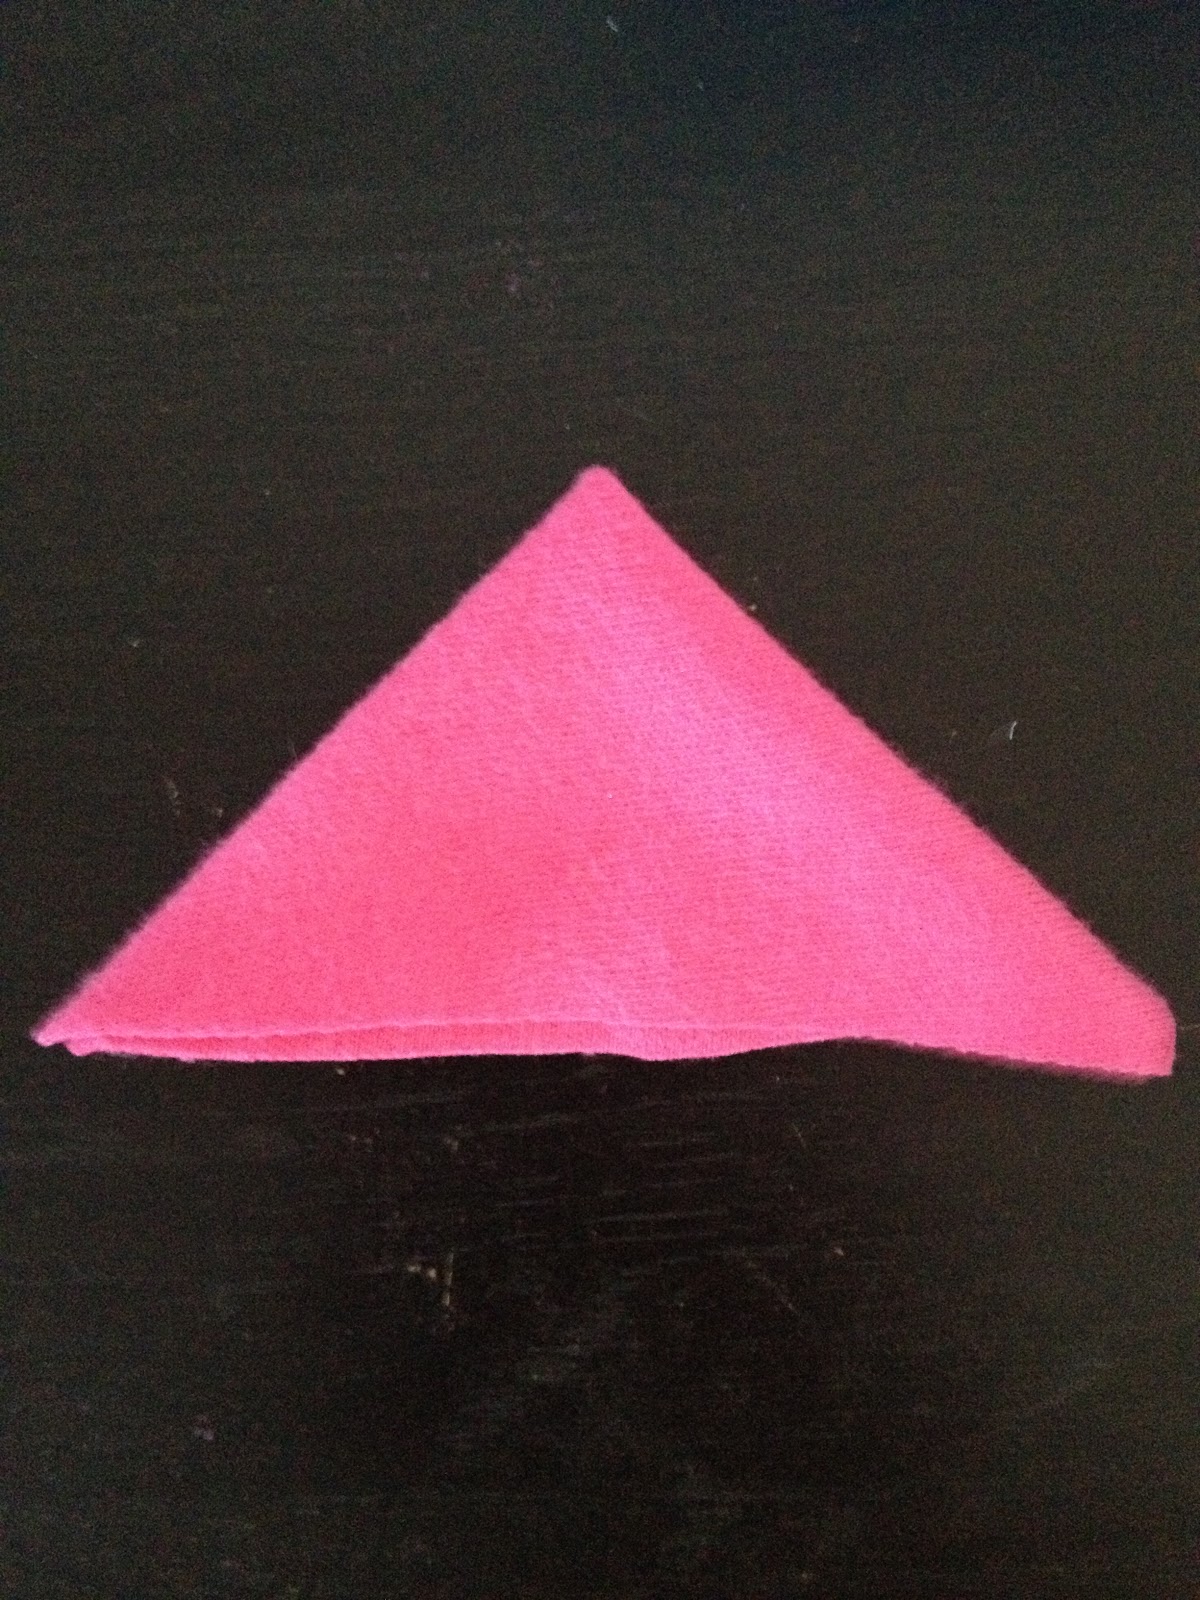
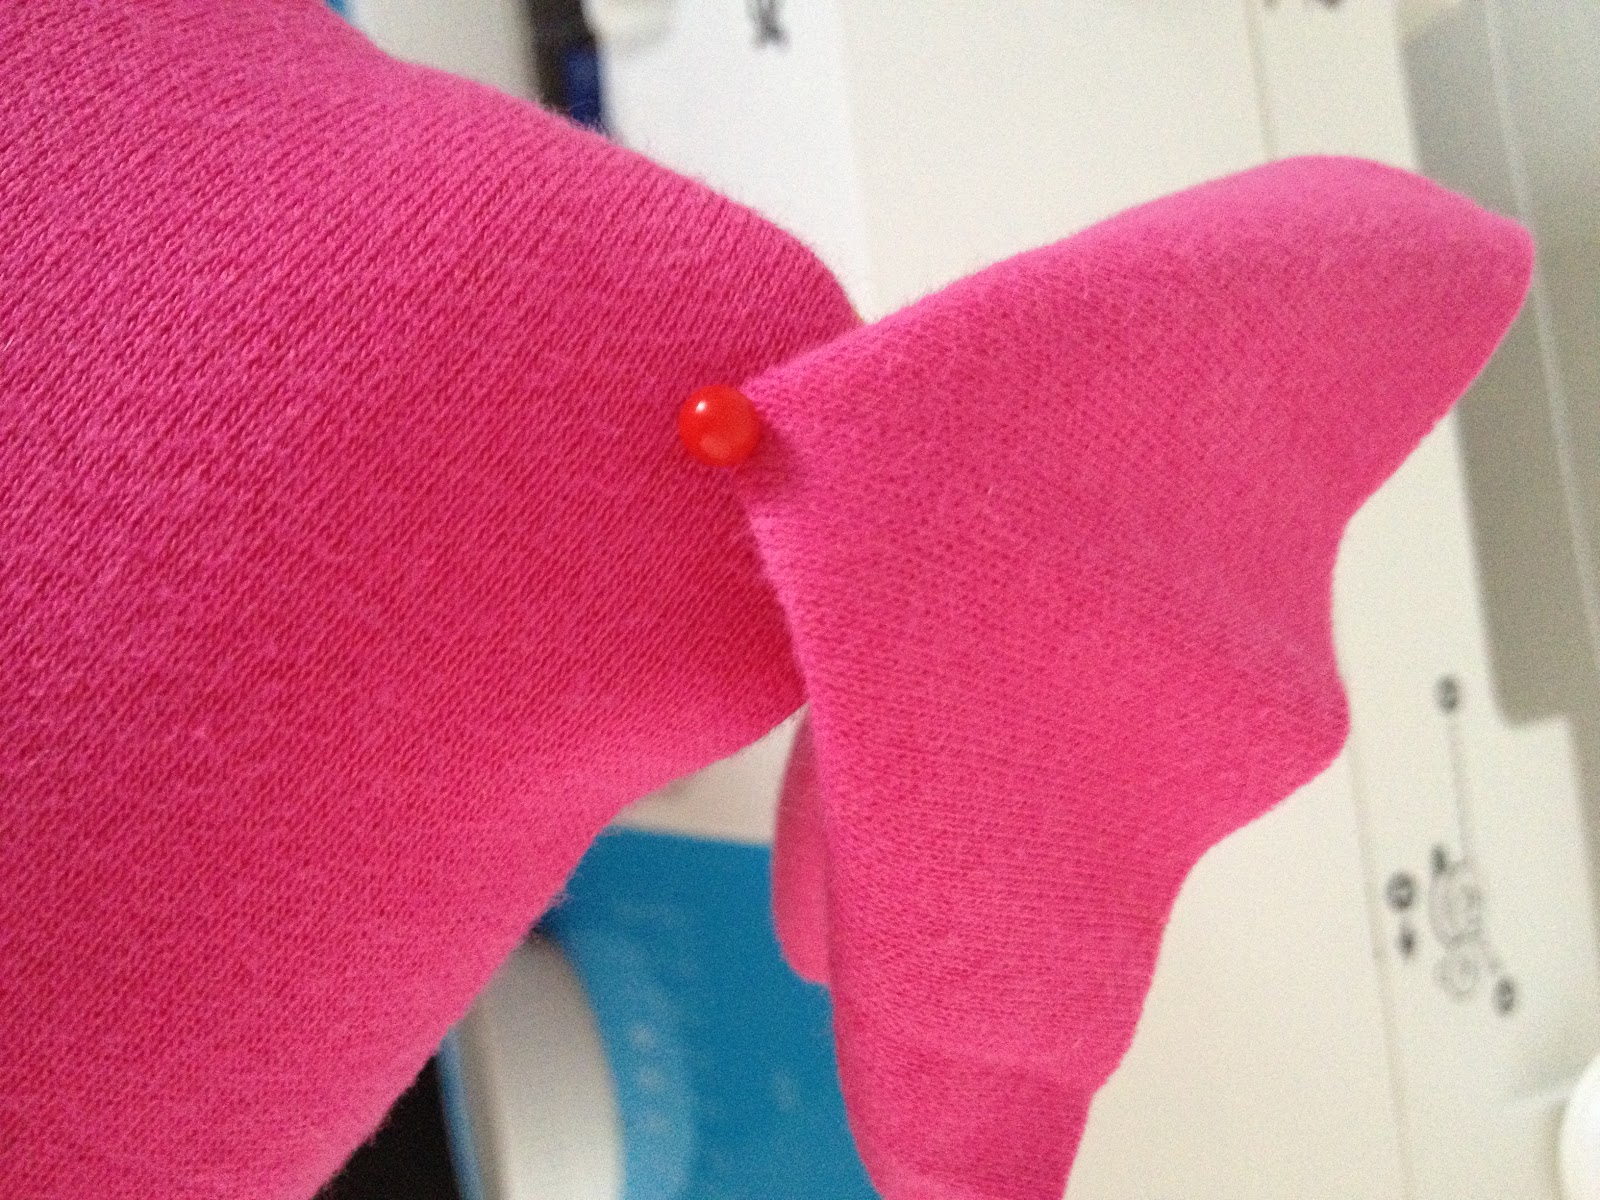
Fold suares twice creating a triangle. Pin the square to the corner of the pillow (using a straight pin) on the same side as the jersey knit fabric. Hand stitch the triangle to the pillow.
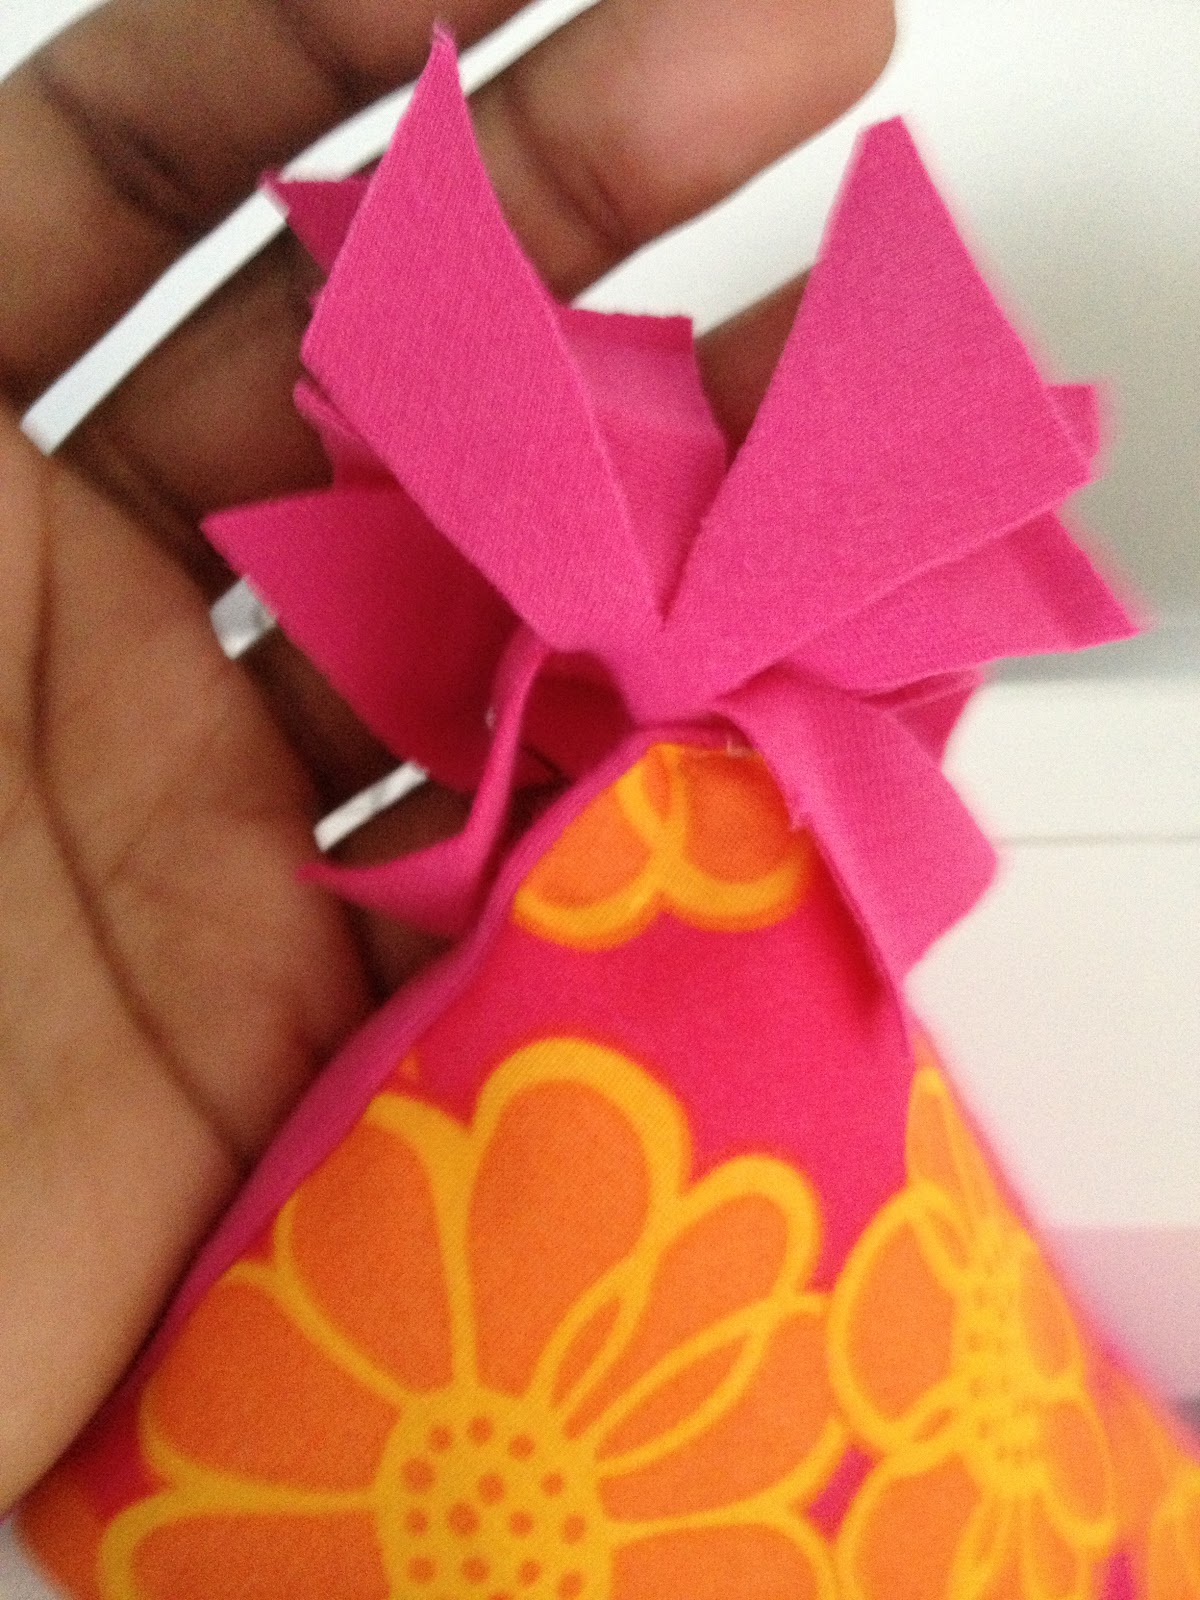
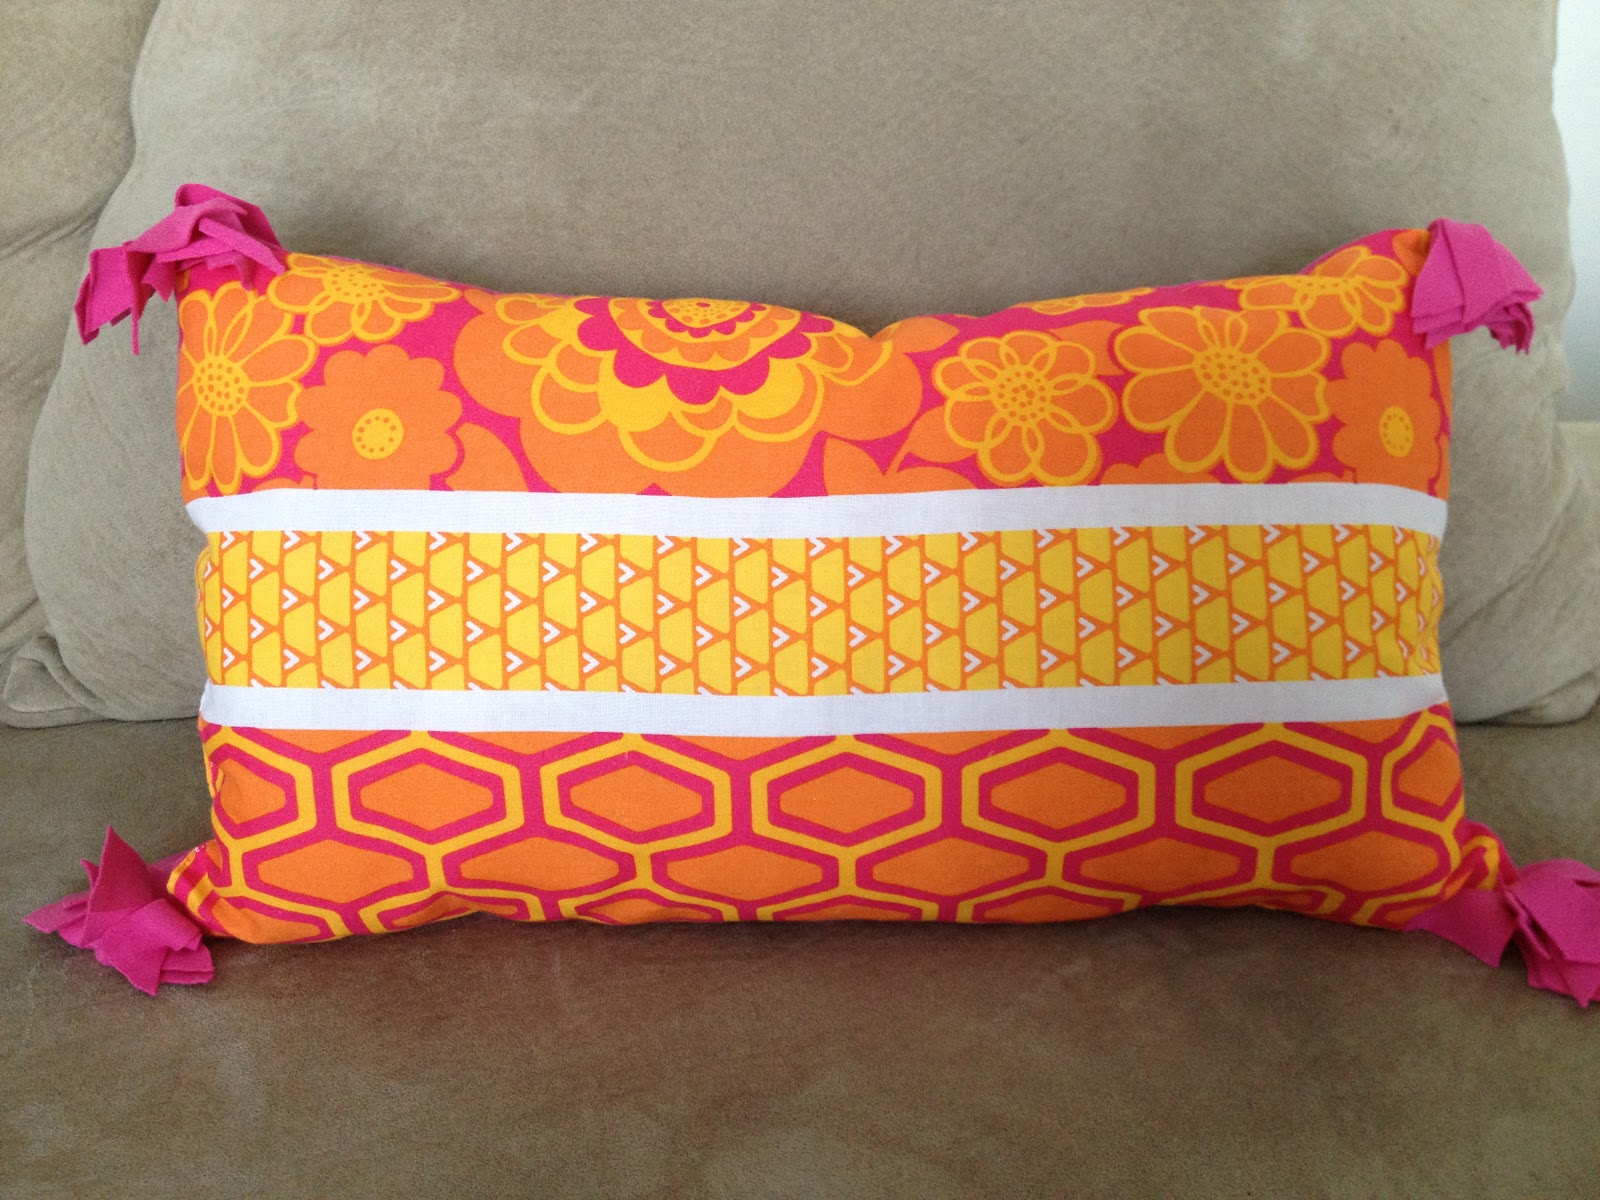
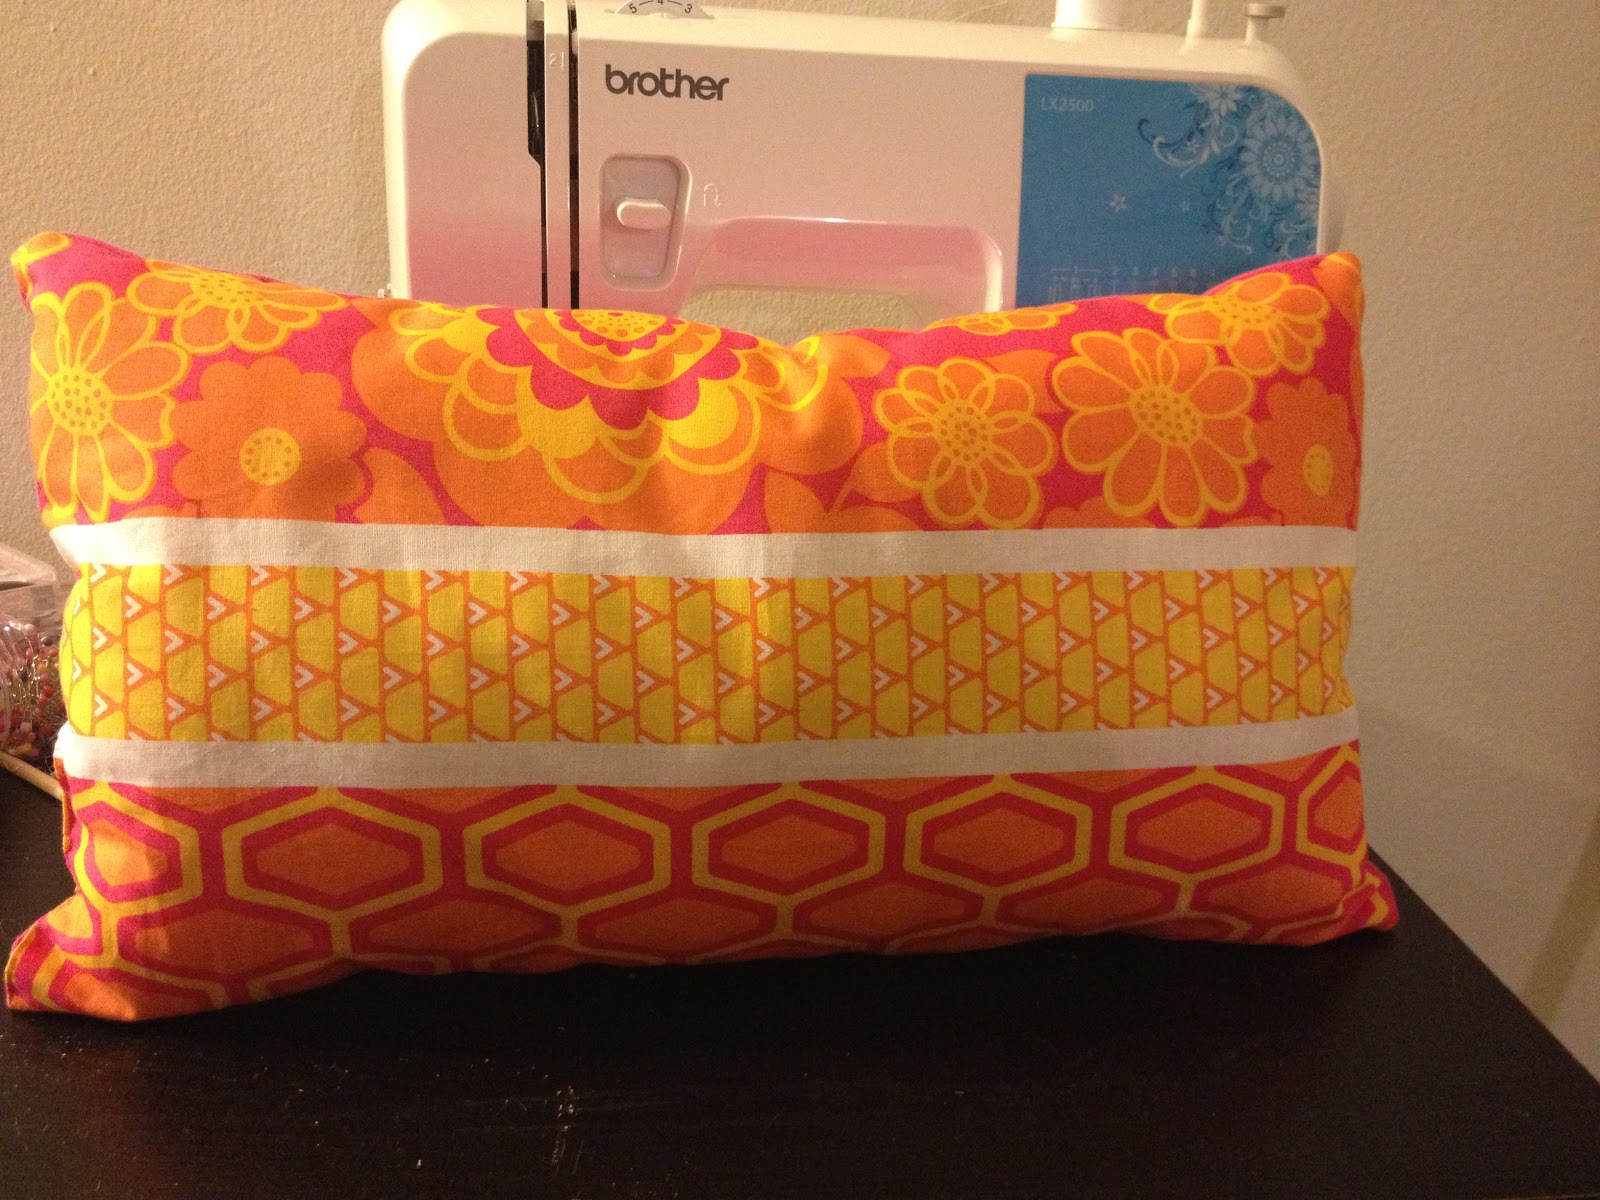
Ta-daaa! And your all done. I made this pillow for my daughter who insisted on having a pillow for naptime at school. LOL.


