Easter is almost here!! I can believe it. Well maybe because the weather here has been a tad bit on the freezing side! But any hoo, I wanted to make the kiddos baskets this year. Like actually make them. I usually just buy Dollar Tree baskets and fill them with goodies. This year I wanted to make something they could hold on to for a couple of years. And who knows maybe give to there children :D. Here is an easy peasy tutorial on creating your very own Bunny Basket!!
.JPG&description=DIY%20Bunny%20Basket)
.JPG)
SORRY ABOUT THE ALIGNMENT OF PHOTOS. THEY ARE FINE IN DRAFT BUT ARE MISALIGNED SOMEHOW O_o
What you need:
1 weaved basket (rectangle or square is best but round will do) ($1 Dollar Tree)
1 Styrofoam ball ($3 Hobby Lobby)
2 Packs of Jumbo Loopy Chenille (doll accessories) ($2.99 ea Hobby Lobby)
6-6mm 12in Pink Chenille ($0.87 Hobby Lobby)
3-6mm 12in White Chenille ($0.87 Hobby Lobby)
2-35mm Wiggle Eyes ($0.99 Hobby Lobby)
1-2 1/2 in White Pom Pom (3 for $0.99 Hobby Lobby)
1 Felt Shape Sticker (pink heart)
1-Super Jumbo Craft Stick
Hot Glue Gun and Glue Sticks
White Paint
Paint Brush
Scissors
Hot Pink Hair Bow for Girl
or Blue Bow Tie for Boy
Step 1 Paint
Paint your basket with white paint. I started using acrylic paint from Hobby Lobby but it was not white enough. I ended up using Behr Premium Plus Ultra Pure White UL200. If you do get the Behr get the paint and primer in one. I just got a sample sample jar. $3 from Home Depot. Paint two coats. Let paint dry between coats. Be sure to paint along the grain of the wood. Which is the lines in the wood. So either left to right or up and down. Depends on your basket. Set basket aside. Paint your Popsicle stick as well. two coats. Set aside.
TIP (you can insert the popsicle stick in basket during this step and just paint over it)
Step 2 Head
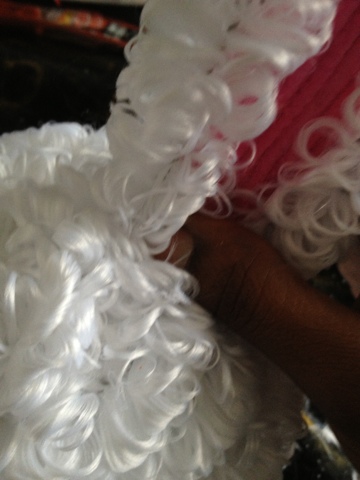
You can start by plugging in your hot glue gun. Keep sticks near by. Starting from the bottom wrap the jumbo loopy chenille around your Styrofoam ball. I used a 5 in ball. If you need to, use straight pins to hold the chenille in place. At this point you are just measuring. Once you have completely covered the ball all the way to the crown, cut off the excess. Be careful cutting the chenille. Its curls will stray if you cut them. Try to cut the wire. Once you have measured the right amount of loopy chenille, unravel to the beginning. Using your hot glue gun, glue the chenille to the ball. Pressing firmly will ensure that the chenille will be secure. Set aside.
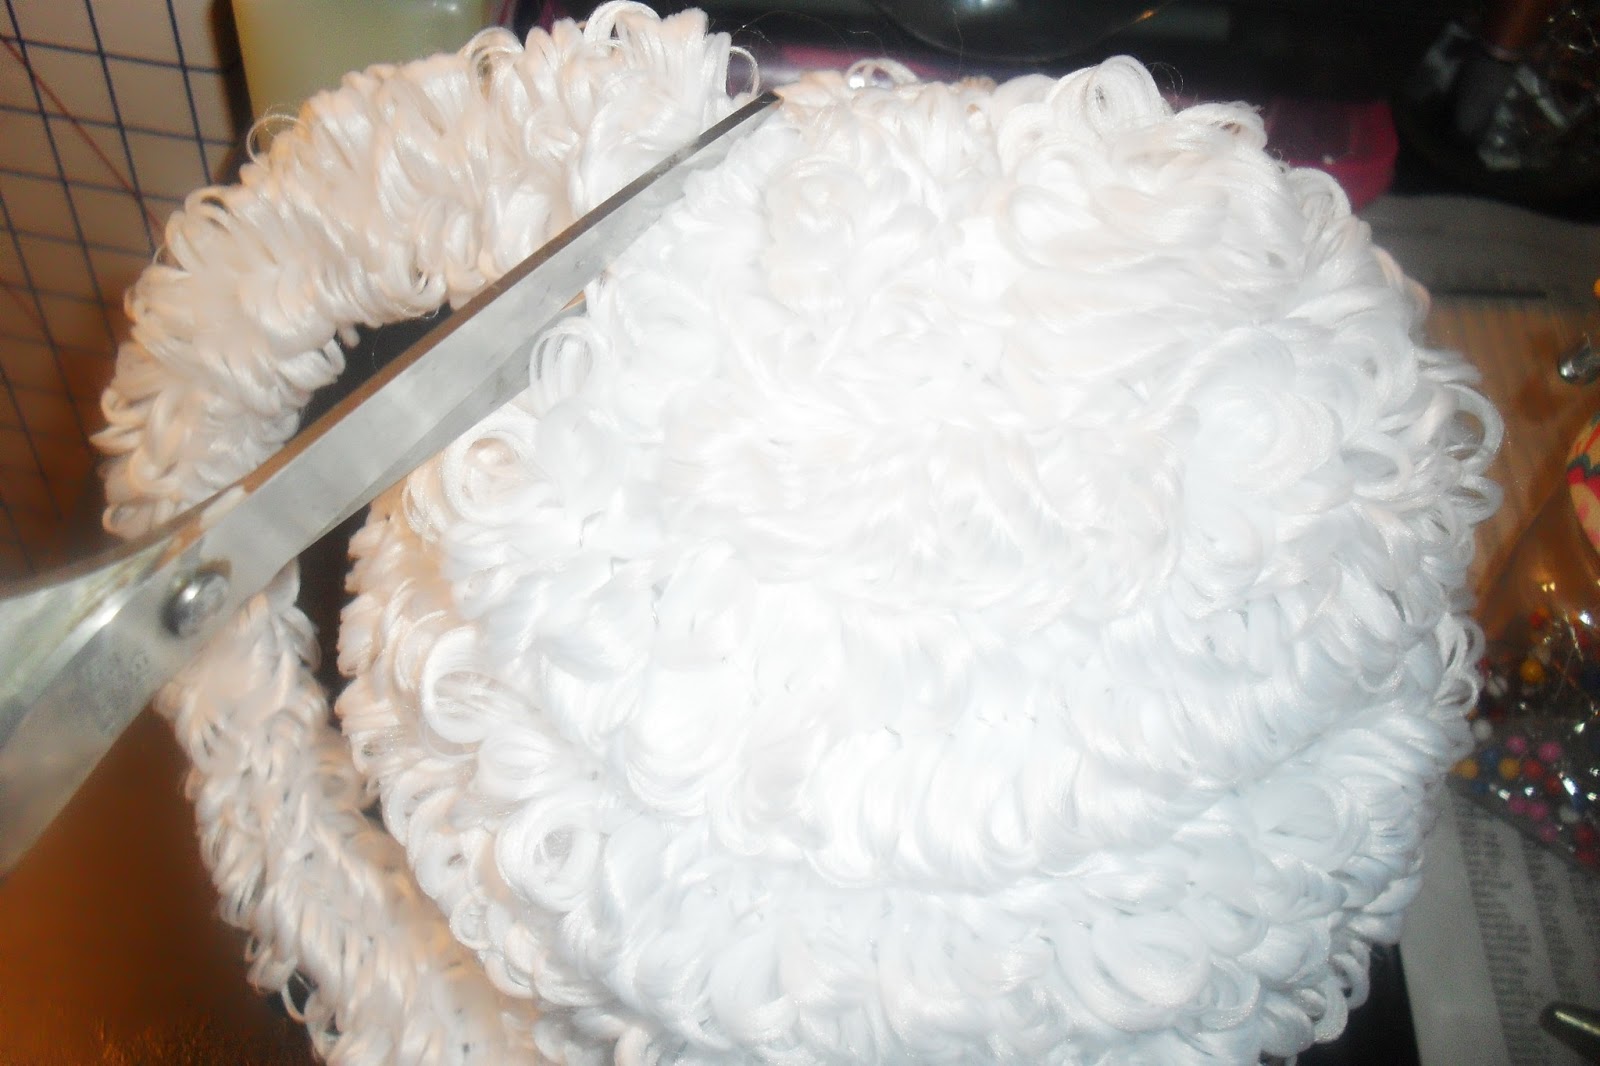 |
| Cut off excess |
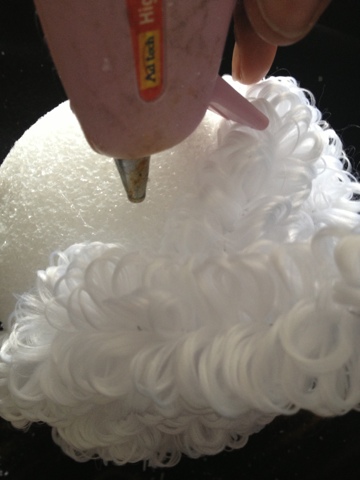 |
| Hot glue a little at a time |
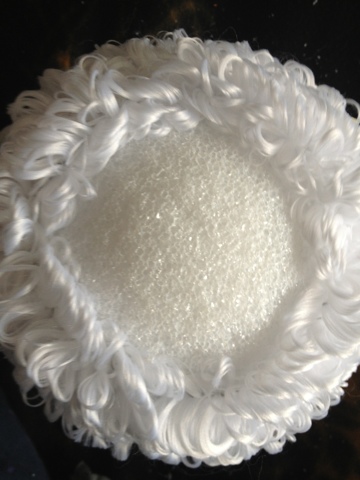 |
| Bottom |
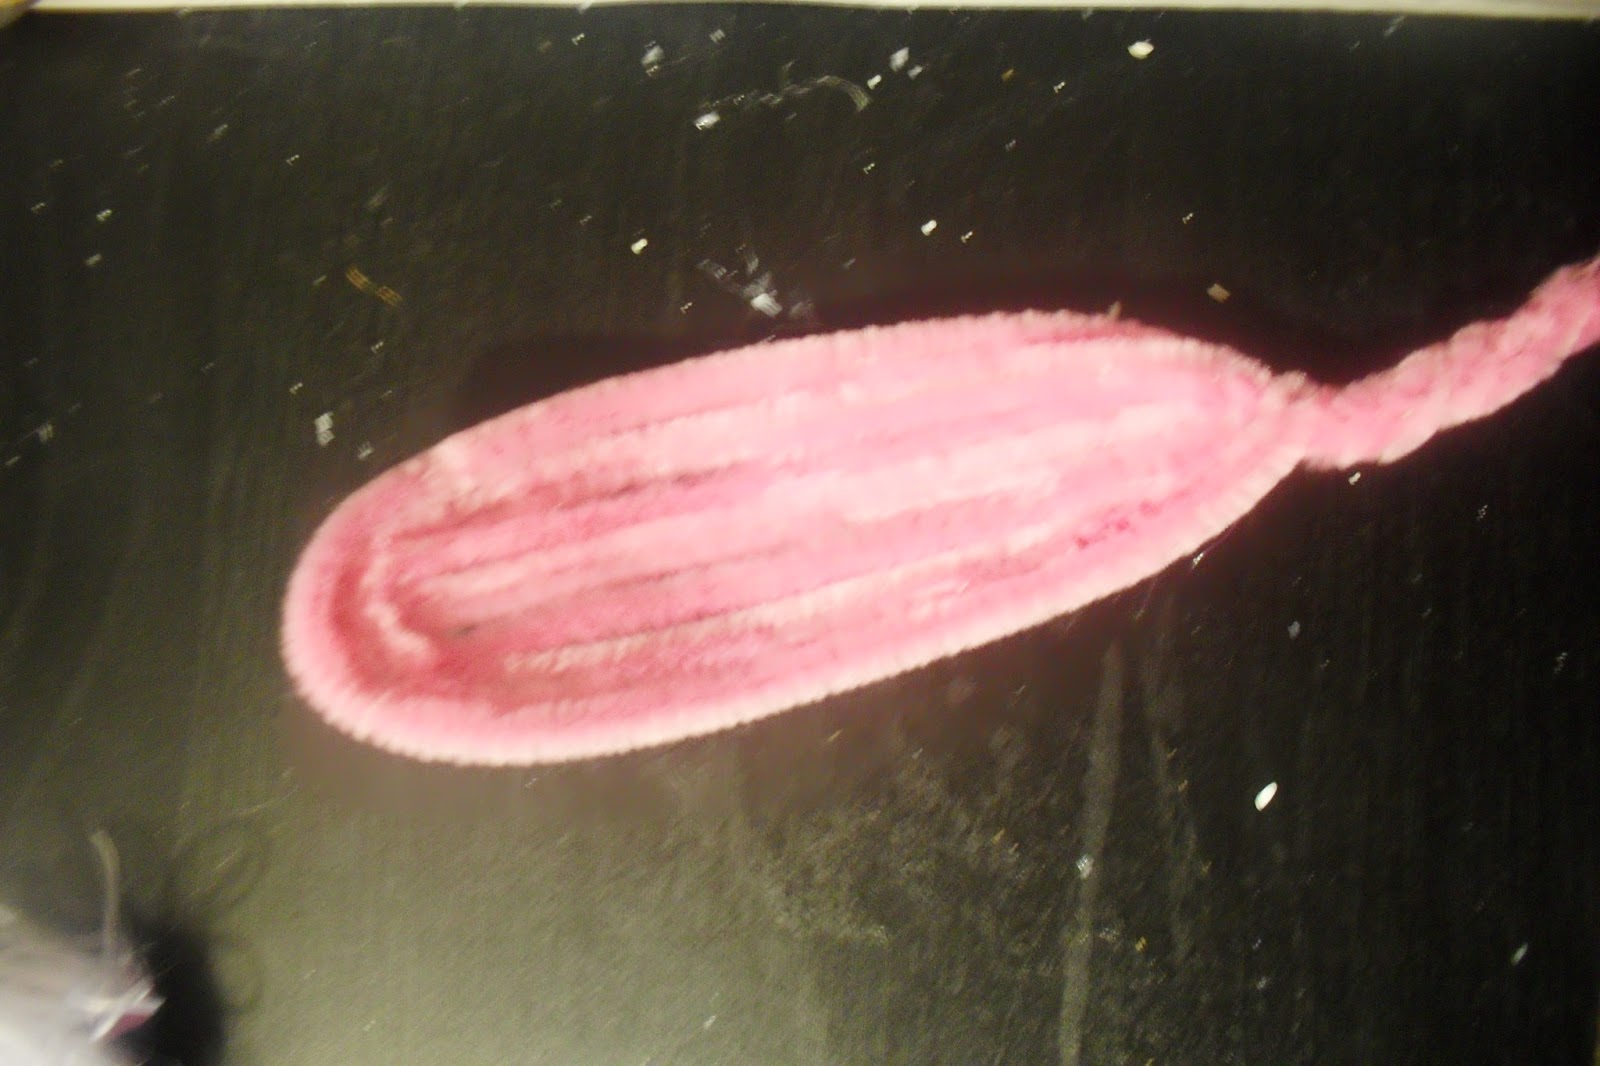
Take one pink pipe cleaner and fold it in thirds. Carefully hot glue the pipe cleaner together. Take the next pink pipe cleaner and hold in half. Hot glue it to the outer edge of the folded pipe cleaner. Take the last pipe cleaner fold in half and glue to the outer edge of the halved pipe cleaner. Twist the bottom of the pink pipe cleaners to secure. Repeat for second ear. Measure 2 pieces (13 in long each) of jumbo loopy chenille. Hot glue the jumbo loopy chenille to the outside of the pink pipe cleaners. Twist bottom of loopy chenille to secure. Repeat for second ear.


Step 4 Ears and Head
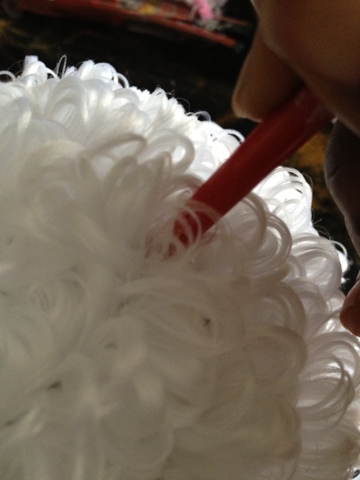
Using the point of the paint brush, poke a hole in the top of the head for the first ear. On the bottom tip of the ear place a few drops of hot glue and immediately insert into hole. Repeat for second ear.

Step 5 Face
Whiskers-Take three white pipe cleaners and twist at the middle. Place a drop of hot glue on the center of pipe cleaners and place the pink heart sticker without removing the backing. Add more hot glue to the back of the heart sticker and adhere to the center of the bunny head. After hot glue cools, trim the whiskers to a length of your liking. You can now hot glue the eyes to the face. Set head aside.


Step 6 Secure Head to the Basket
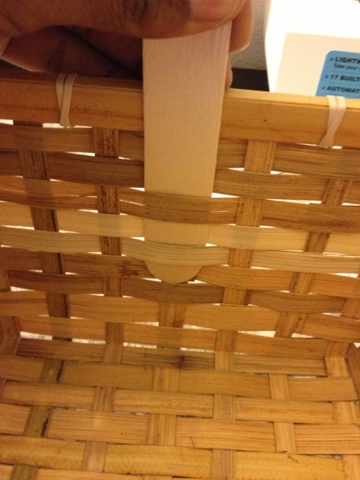
Take a plain popsicle stick and weave in and out in the inner backside of basket. Be careful not to crack the basket. Note how much of popsicle will he above the rim of the basket. This is the amount that you will need for the head. Make a mark and remove. Carefully turn head upside and slowly push popsicle stick inside head to mark. Remove. Now you can take your white painted popsicle stick and insert into the same spot as before. Add hot glue to the front and backside of popsicle stick and immediately place head on popsicle stick. Hold the head for a few seconds to allow hot glue to cool.

Step 7 Final Touches
Measure about 42 in for the arms and shoulders. The arms need to be doubled up along the edges of your basket. Its easier if you twist the ends to secure. Hot glue the shoulders to the back top edge of basket just under the head. If you have a handle that moves, make sure that it is in the upright position. Glue one arm at a time.
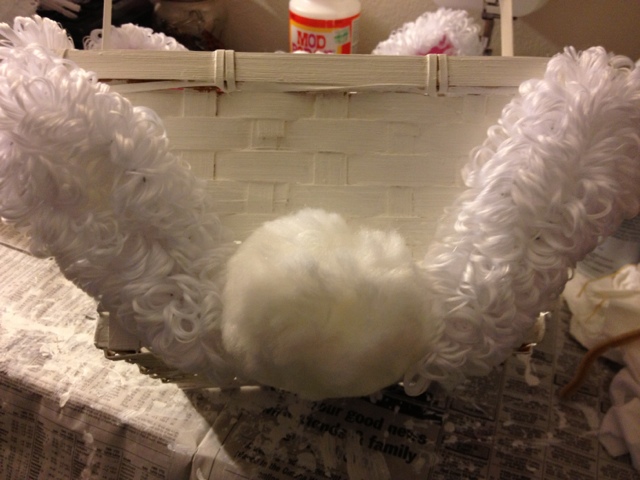 Now for the feet. Cut 2 10 1/2 in strips of loopy chenille for the feet. Take one strip and fold in half. Twist bottom then fold upwards to secure. Repeat for second foot. On the side where you folded the bottom of chenille upwards, apply adequate amount of hot glue and place on front of basket at a slight angle. Repeat for second foot. Glue your pom pom at the bottom between the two feet. Add your bow and your done!!
Easy Peasy!! Hope you find this tutorial easy to follow along. :D Comments are always welcome. Join my blog to keep up with the latest post. Planning a Spring/Summer giveaway!!

This is so cute!! I can't believe I missed it for Easter! I want to make one now anyway, can I make a Memorial Day bunny? :)
ReplyDeleteABSOLUTELY!! You can easily find a mini Uncle Sam hat and some patriotic ribbon for a cute bow tie!!! If u make one let me know I would love to see how it turns out!! Thanks for taking the time to comment. :D
DeleteThis particular appears completely ideal. Each one of these small particulars are created along with large amount of history understanding. I love this a great deal randy orton wwe champions
ReplyDelete