
I had so much fun creating this little number. I see bags in many stores that look like they were once t-shirts. I was definitely not paying $20 for one especially if I could make it myself. Finally I had some clothes to create one with. My daughter had spaghetti one day at preschool and of course ruined her top. I wasn't upset, after all it's bound to happen at preschool.


If you would like to create this easy T-Shirt Sac, just follow the directions below.
First you will need the following:
- T-Shirt ( I used two ONLY because her LOVE shirt was very thin)
- Scissors
- Thread (best to use the same color as your shirt)
- Needle (if you are going to hand stitch, by all means you can use a sewing machine)
- Straight Pins
- Tacky Glue (optional if using two shirts like I did)
- Ribbon
- Feather Boa
EASY TO DO PICTORIAL DIRECTIONS
 |
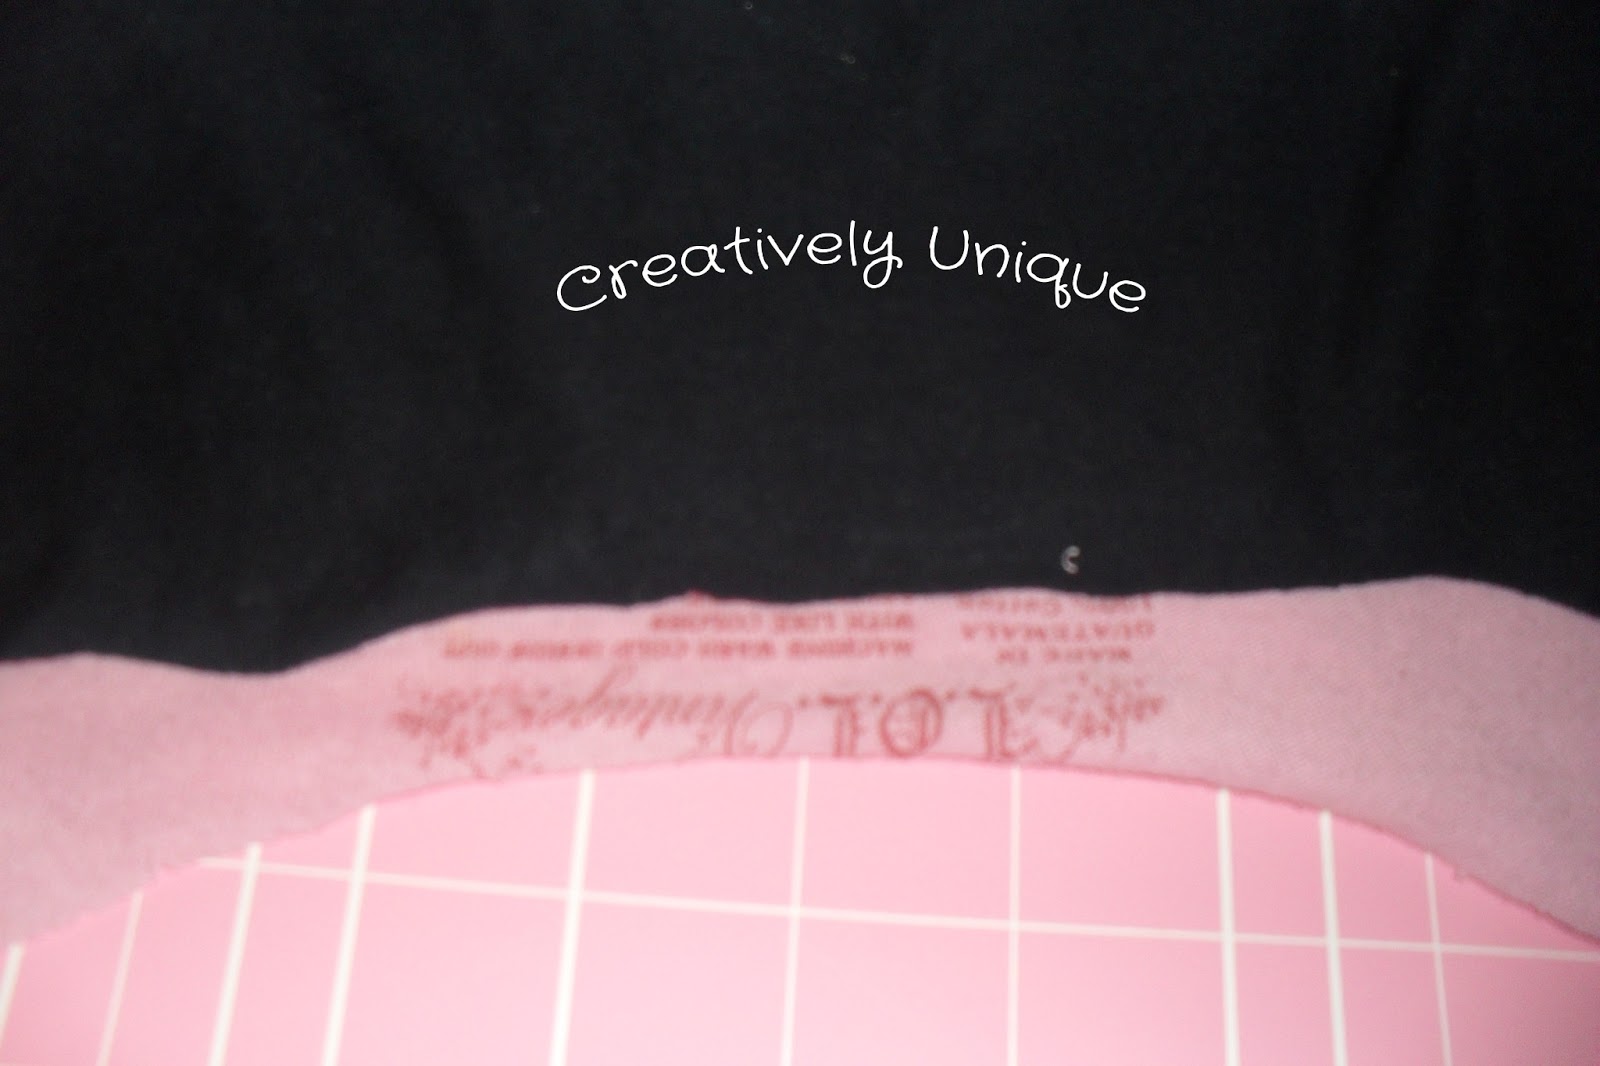
| Cut off desired amount from bottom of t-shirt. I cut about two inches above hem. |
 |
| After Cut |
 |
| Turn shirt inside out and pin the bottom off the shirt Then stitch a seam under
straight pins across the bottom of shirt.
|
****IMPORTANT IF USING TWO SHIRTS IF NOT KEEP SCROLLING UNTIL YOU SEE HEART SMILEY FACE****
 |
| Turn 2nd shirt inside out. Pin the bottom of shirt with pins. Sew a seam under the pins. Turn **2nd** shirt ONLY back right side out. |
 |
| 2nd Shirt right side out. You should be looking at the seam at this point. |
 |
| Pinch 1st shirt while hand is still in the inside of lining. Pull 1st shirt over lining. DON'T LET GO |
 |
| Secure two shirts together with pins at each corner, both sides, and bottom |
 |
| Using Tacky Glue adhere edge of lining to the inside outer shirt all around |
 |
| Using tacky glue, adhere ribbon or straps of your choice to shoulder of t-shirt sac Secure with straight pins |
 |
| Sew boa to outer outside top edge of sac. Be sure to sew boa securely over straps to keep them from falling off. |
 |
| Finished T-Shirt Sac |

***IF YOU ARE NOT USING 2 SHIRTS JUST SKIP TO PICTURE UNDER THIS SENTENCE***
|
| Turn sac back right side out looking at the seam. THIS IS THE 2nd SHIRT WHICH IS INNER LINING Still same concept. I forgot to take a picture using my LOVE shirt. |
|
| Glue ribbon or straps of your choice to inside shoulder of t-shirt secure with straight pins |
|
| Sew boa to outer outside top edge of sac. Be sure to sew boa securely over straps to keep them from falling off. |
 |
| Finished T-Shirt Sac |
What do you think? Comments are always welcome :D If you have questions you can post them here too.
Enjoy lovelies!!

LOVE this! Now I finally can upcycle some of the old clothes we get rid of that I love so much! Was also contemplating making a t-shirt quilt but I have to wait for more t-shirts to come available because I'm not sure hubby would approve of me using all of his ;). Awesome blog!!!
ReplyDeleteGlad you liked it!! Yes you can definitely make a t-shirt quilt. I thought about it for Jayden's baby shirts that he has outgrown. I will do more DIYs for up-cycling clothes soon. :) Thanks for commenting!
ReplyDelete